
As I began my journey into development, I realized I needed a space to organize and share my knowledge and experiences. After all, I have learned so much from others myself.
While there are many platforms available—such as Naver Blog, Tistory, and Velog—I chose Hugo, a Static Site Generator (SSG), because of the limitations in customization on those platforms and my desire to have complete ownership of my data.
This series will document the process of creating a Hugo blog, including the trial and error I encountered. I plan to record the entire process: from setting up the Hugo environment and applying the Blowfish theme, to deploying via Cloudflare Pages with a custom domain.
First, here is how to set up the development environment on Windows 11.
1. Why I Chose Hugo#
- Unrivaled Speed: Written in Go, its build speed is vastly superior to other SSGs (like Jekyll or Hexo).
- Flexibility: Content is written in Markdown, and theme customization is very flexible.
- Free Hosting: Since it generates static HTML files, it can be deployed for free on GitHub Pages or Cloudflare Pages.
2. Installing Tools for Blog Creation#
To ensure a smooth setup and operation, I installed the following programs. Please install these beforehand to prepare your development environment. You can also find more detailed information in the Hugo Official Manual.
1) Visual Studio Code#
While there are various code editors like Cursor, I chose VS Code for its excellent compatibility, extensive plugin support, and vast number of use cases. As I am just starting out, I decided to go with the most widely used tool.
2) Git#
This is an essential tool for version control and deployment. Since I plan to manage my project on GitHub, this is a mandatory installation.
3. Installing Hugo (Important)#
Naturally, to run a Hugo blog, we need to install Hugo. There are two ways to do this: using a pre-built binary or using a package manager.
While package managers like Chocolatey or Scoop offer convenient installation for Windows development tools, I have not used them before and am unfamiliar with them. Therefore, I will proceed by manually installing the pre-built binary.
If you prefer using a package manager, please refer to the Official Manual.
1) Installing Hugo via Pre-built Binary#
Hugo comes in a standard version and an Extended version.
Themes that utilize modern features (such as SCSS/PostCSS processing)—including the Blowfish theme I intend to use—require the Extended version. Therefore, you must install the Hugo Extended version.
① Go to the Hugo Binary Download page and download the compressed file that matches your edition and operating system. I downloaded hugo_extended_0.154.2_windows-amd64.zip.
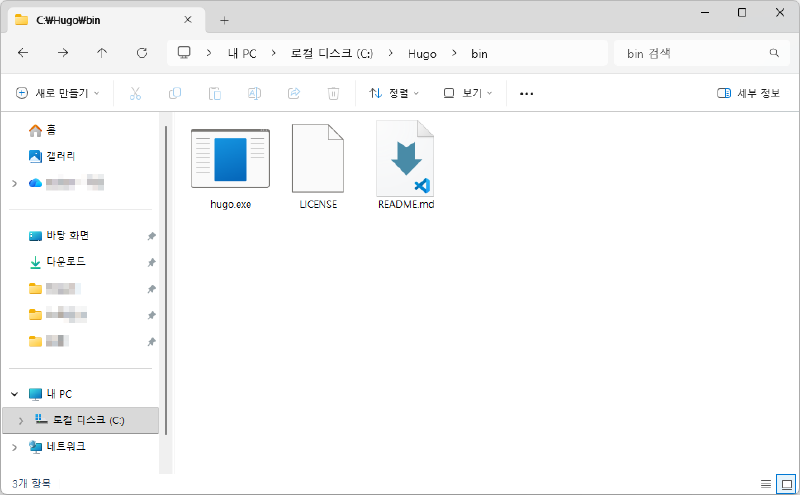
② Extract the file and place it in the C:\Hugo\bin folder.
③ Press Win + R, type sysdm.cpl, and go to System Properties > Advanced > Environment Variables. Add the Hugo folder path to the PATH environment variable.
2) Verifying Hugo Installation#
Open Terminal or PowerShell and enter the command below to verify that the installation was successful.
hugo versionAfter running the command, the output must include the tag +extended as shown below:
hugo v0.154.2-f66d0944461 ... +extended windows/amd64 BuildDate= ...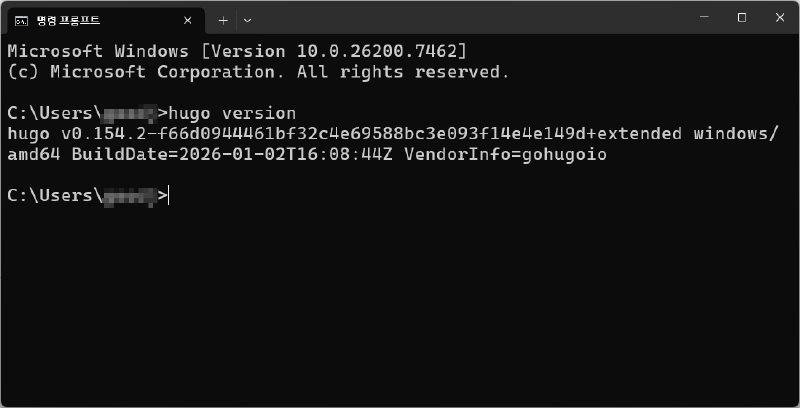
With this, the preliminary work for developing and operating a Hugo blog is complete.
In the next post, I will cover how to create an actual project and apply the Blowfish theme.