
In Part 1, we completed the installation of Hugo (Extended version) on the Windows environment. Now, let’s officially create a blog and apply the Blowfish theme.
1. Creating a New Hugo Project#
Navigate to your desired folder (e.g., C:\Project) and run the command below in your terminal to create a new site. I named the blog my-blog.
hugo new site my-blogIf the command is successful, a folder named my-blog will be created. Now, navigate into that folder.
cd my-blog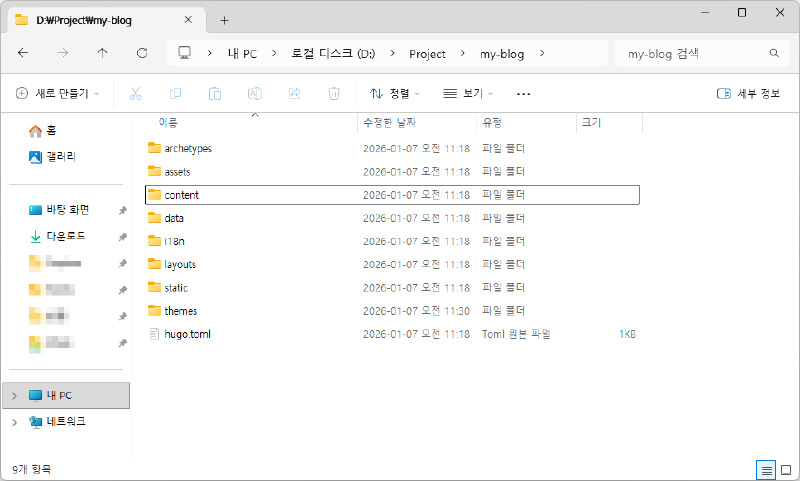
Understanding Key Files and Folders
- hugo.toml: The most important file responsible for the blog’s configuration.
- content folder: The place where the posts (Markdown) you write are stored.
- themes folder: The place where downloaded themes are stored.
- static folder: Storage for static files like images and robots.txt.
- layouts folder: An override folder used when modifying the theme to your liking.
2. Git Initialization (Git Init)#
Hugo strongly recommends using Git. Also, since most themes are distributed via Git, we will use it as well.
First, initialize Git at the project root.
git initThis step is a prerequisite for managing the theme as a Submodule later.
3. Installing the Blowfish Theme#
There are countless themes for Hugo, but I chose Blowfish. At this stage, I focused mainly on the design and whether there was well-documented support rather than deep technical aspects.
I also excluded themes that required additional technologies like npm because I am not familiar with them yet.
There is an Official Hugo Themes Site where you can view Hugo themes at a glance, so you can find a theme that suits you there.
There are several ways to install a theme, but I recommend the Git Submodule method as it is the easiest for maintenance.
# Add blowfish as a submodule inside the themes folder
git submodule add -b main https://github.com/nunocoracao/blowfish.git themes/blowfish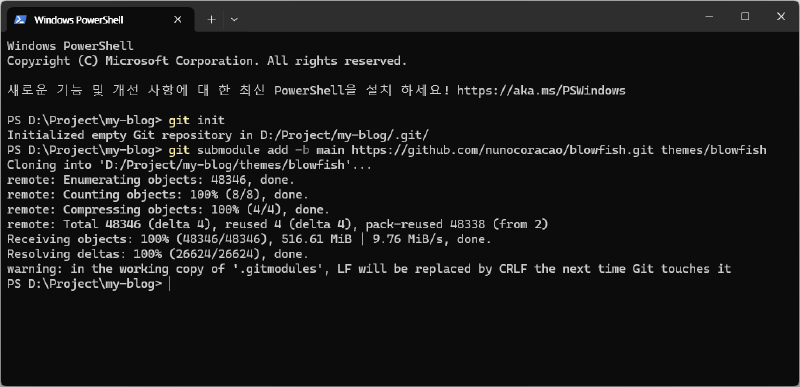
4. Basic Configuration#
This is where it starts to get a bit confusing. In the default Hugo setup, the hugo.toml file is located in the root folder.
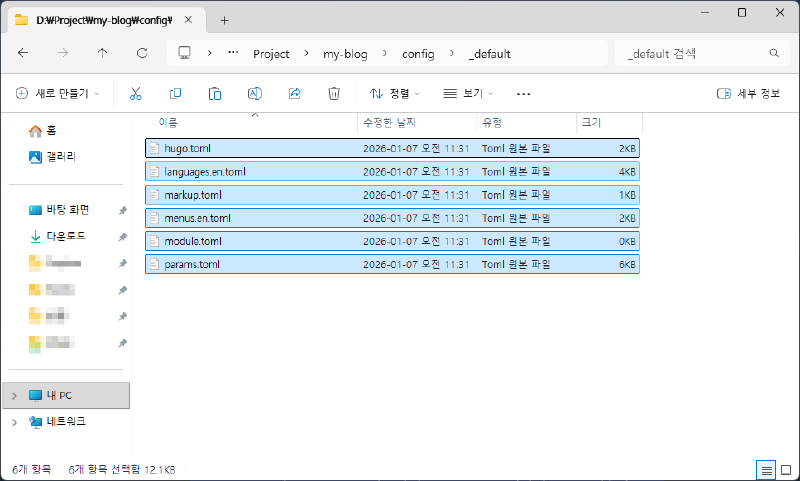
However, the Blowfish theme instructs us to delete the hugo.toml in the root folder and manage configuration within the config/_default/ folder.
So, let’s first bring in the hugo.toml and basic setting files provided by default in the Blowfish theme.
For more details, you can refer to the Blowfish Installation Manual.
① Copy all files located in the themes\blowfish\config\_default folder.

② Create a config\_default folder in the root directory and paste the copied files into it.
③ Open the hugo.toml file inside the config\_default folder with VS Code and set the theme to blowfish.
theme = "blowfish"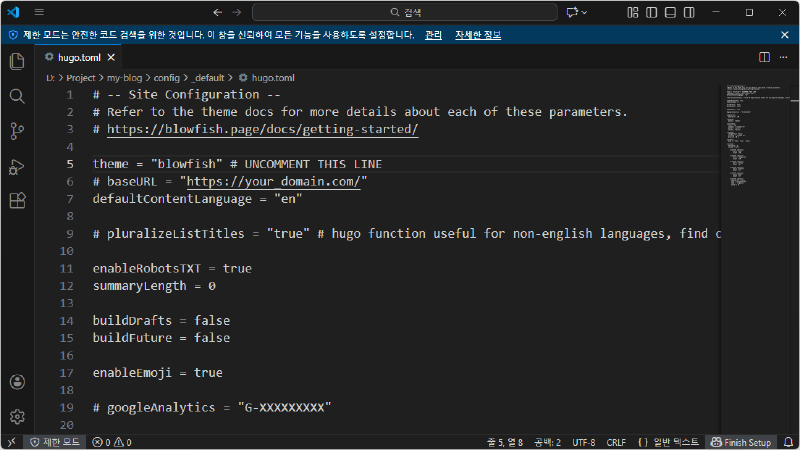
5. Running the Hugo Server#
Since all basic preparations are done, let’s run the local server by entering the command below in the terminal to verify that the blog is working correctly.
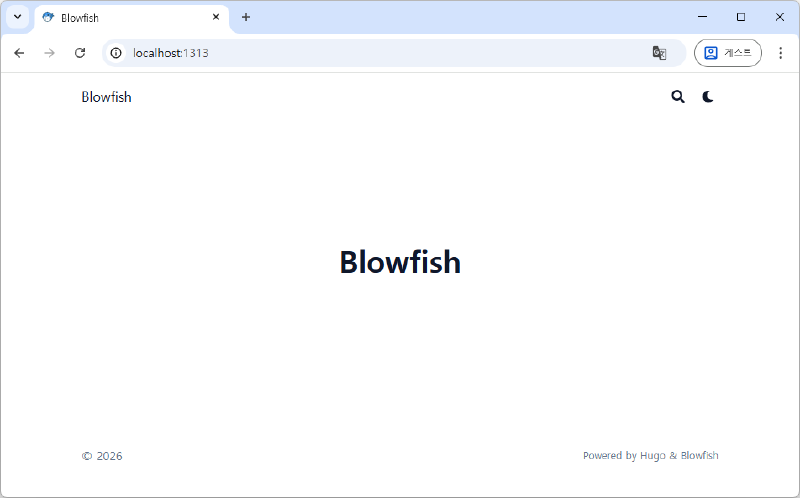
hugo serverOpen your browser and visit http://localhost:1313/. If you see the basic layout of the Blowfish theme, you have succeeded.
6. Wrap Up#
The skeleton of the blog is now complete. However, since it is still in the default setting state, there are no menus, the language is set to English, and no profile is set up.
In the next part, we will look at how to customize the blog to our liking, including Korean language settings, adding a profile, and configuring menus.